


Tweens' Blog Posts
|
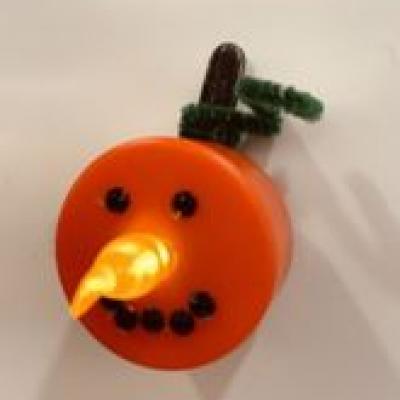
October DIYPumpkin Tea Light Pick up supplies at the Kids' World desk through the end of October. Kit includes: flameless tea light, mini craft stick, black rhinestones, 1/2 green pipe cleaner, adhesive magnet, adhesive foam dots You’ll need: green or brown marker (optional), scissors 1. Use your marker to color the craft stick (optional). 2. Pop out the foam dots and place them on the back of your tealight. Then peel off the backing and place the craft stick on the foam dots so that it looks like a stem (be careful to avoid the on/off switch). 3. Peel the rhinestones off the plastic and place them on the flame side of the candle, using the flame as a nose. 4. Peel the backing off the magnet and place in the center of the craft stick. 5. Wrap the pipe cleaner around the craft stick and twist the end to look like a pumpkin vine or leaf. 6. You are ready to hang it on your fridge or locker! |
September DIY: Zipper BraceletYou can pick up supplies for this project at the Kids' World desk during the month of September. Or, follow the directions below and use supplies from home. Supplies:
Directions:
|
|

|
Tween Escape RoomDo you think you have what it takes to rescue the library's beloved storytime dog, Dewey?! Solve all the clues in our escape room to see how fast you can free him from the Lindsey Room! Check it out here: https://sites.google.com/ahml.info/escape-the-library/home |